![[DOOR FLIES OPEN]](https://doorfliesopen.com/wp-content/uploads/2015/08/DFO-MC-Patch.png)
As I groggily woke up at a reasonable West coast sleep in time, I realized I had offered to take the Sunday Gravy slot for today and talk all about how to make pie. My best intentions had been to set up and schedule that post well ahead of time, but nooooo, my best intentions simply went to further that road to hell by a few feet.
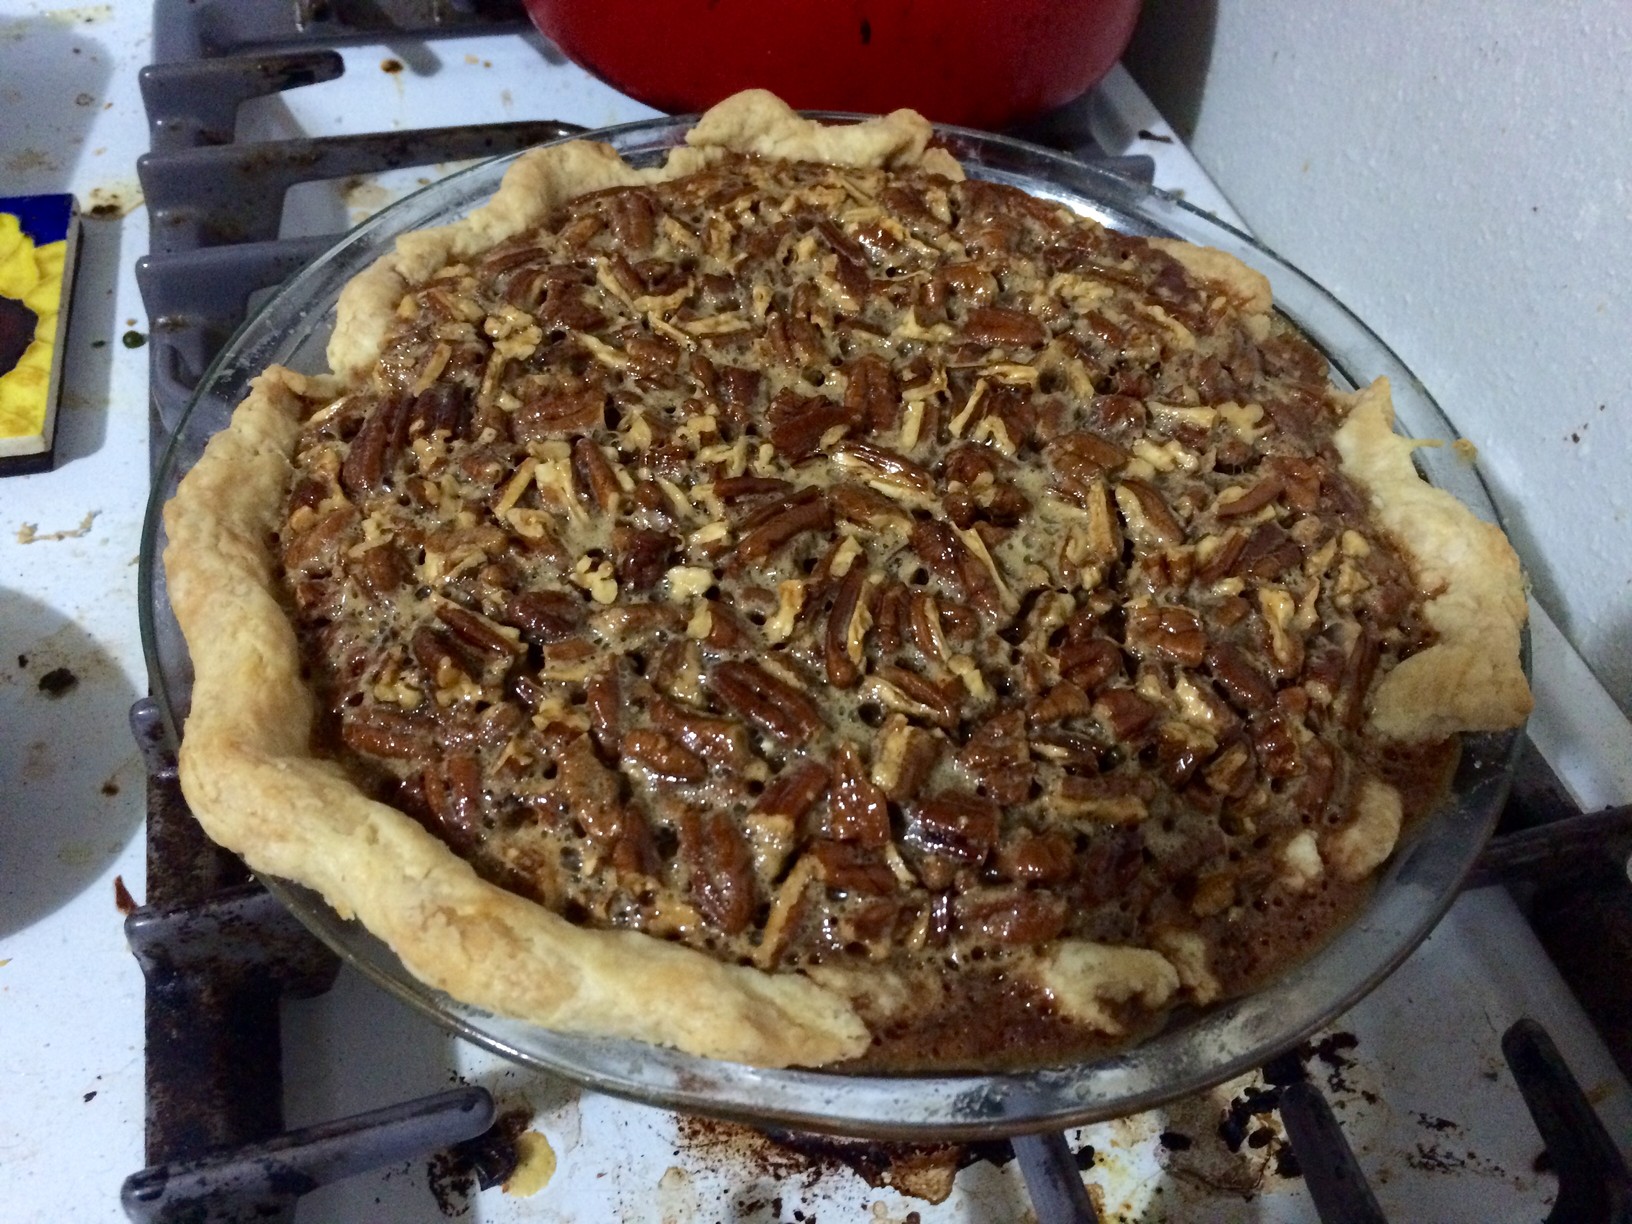
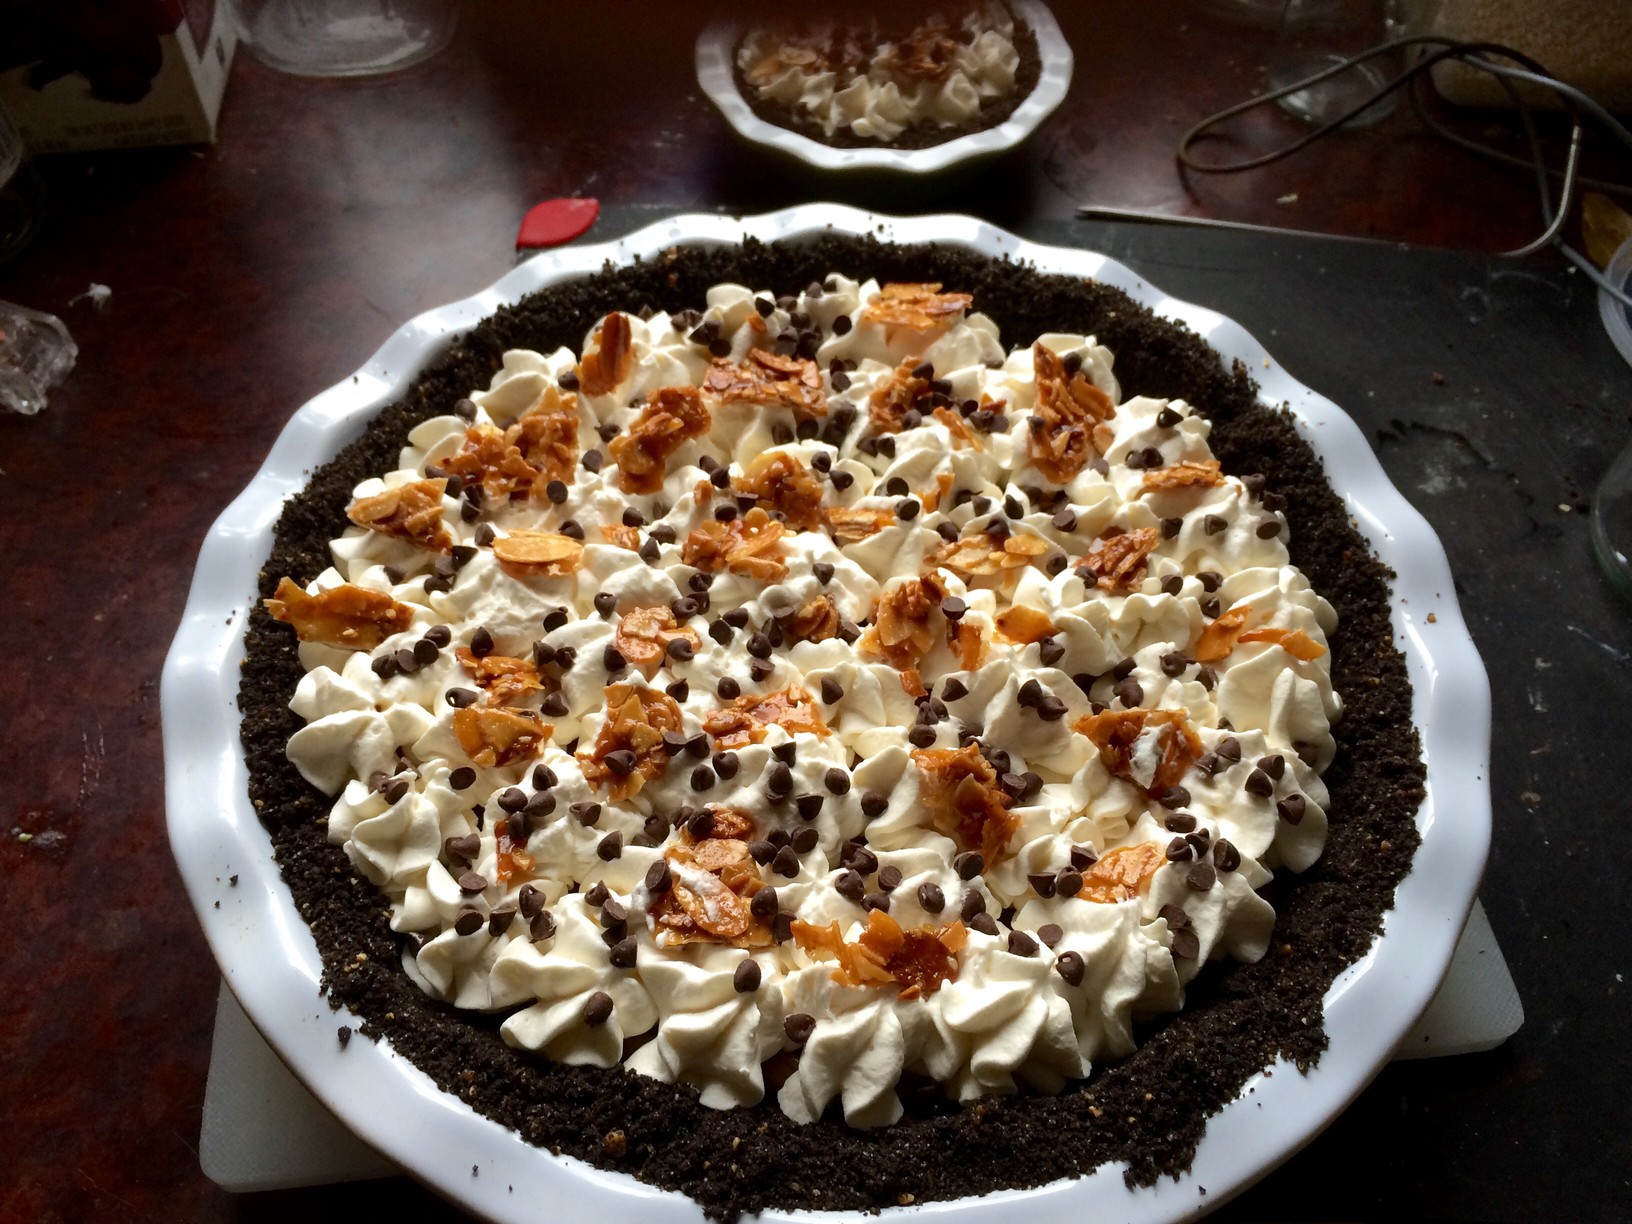
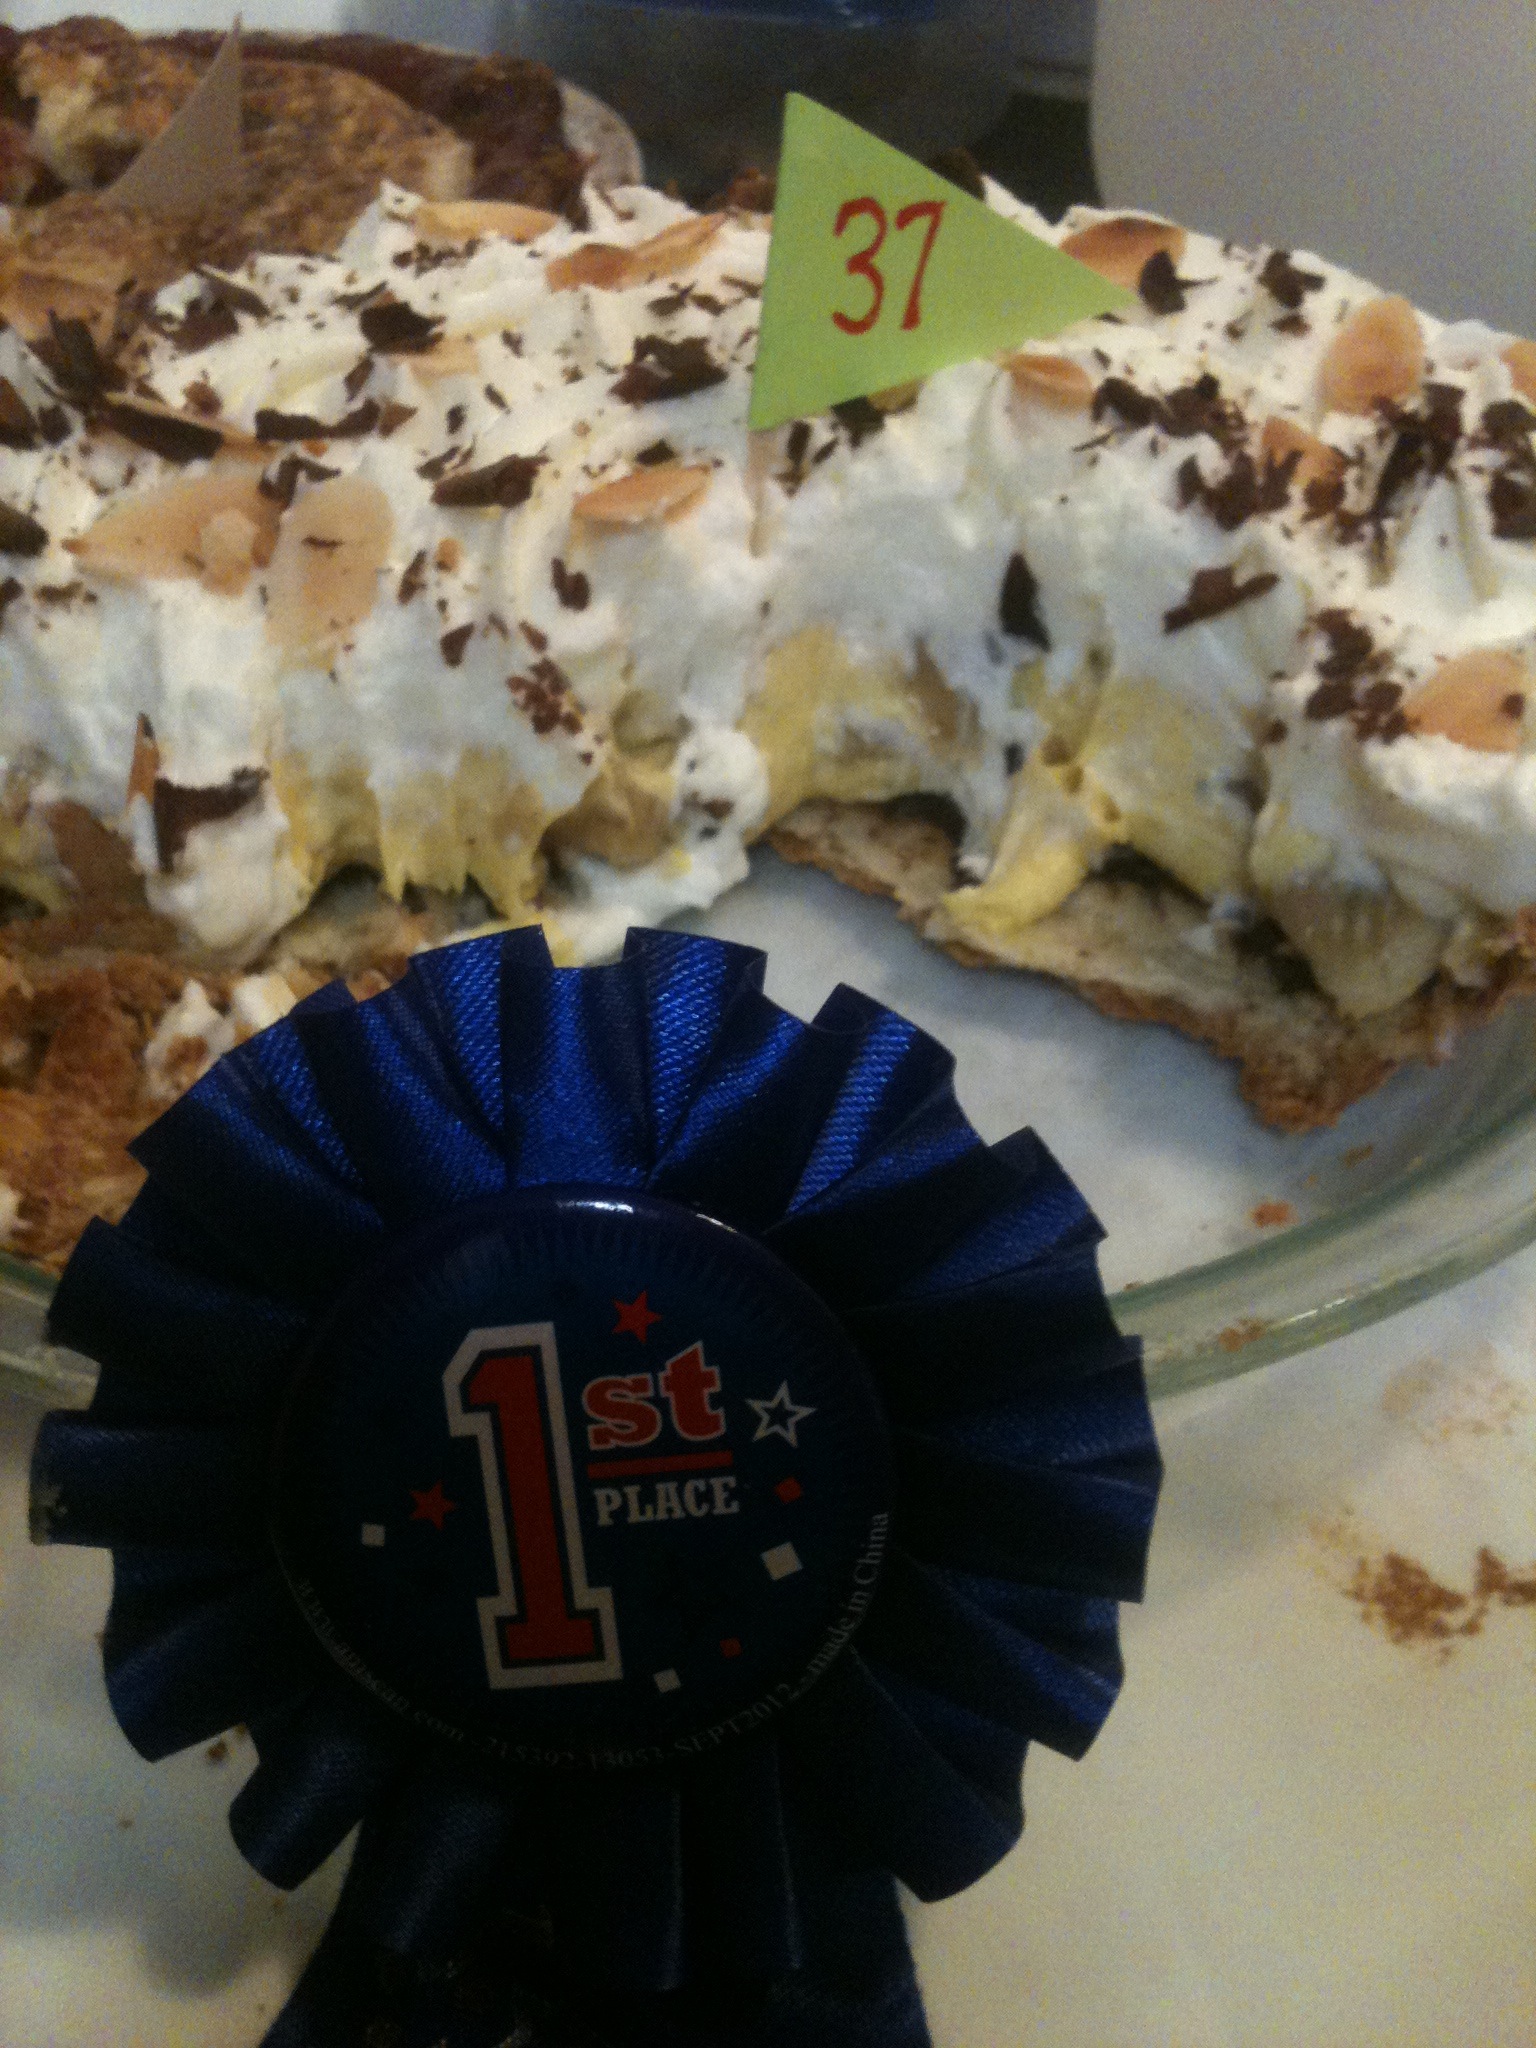
Luckily, I had written a whole thing about pie making a while back that never got posted. It was written to go up early in the offseason so that people could dominate summer bbqs with their pies, so that’s why this will read the way it does. Also, I meant to get some more specific pictures, but random pictures of pies I’ve previously made will have to do.
And now, pie.
There’s a moment during the NFL offseason where I freak out, and it has nothing to do with the lack of football and has everything to do with strawberries. In Oregon, there is a two to three week window where fresh Hood strawberries hit the stores and markets, and, no joke, these are the most amazing strawberries I’ve ever eaten. There are so many baked goods that I use them in, but one dessert reigns supreme every early June for me:
Strawberry-rhubarb pie.
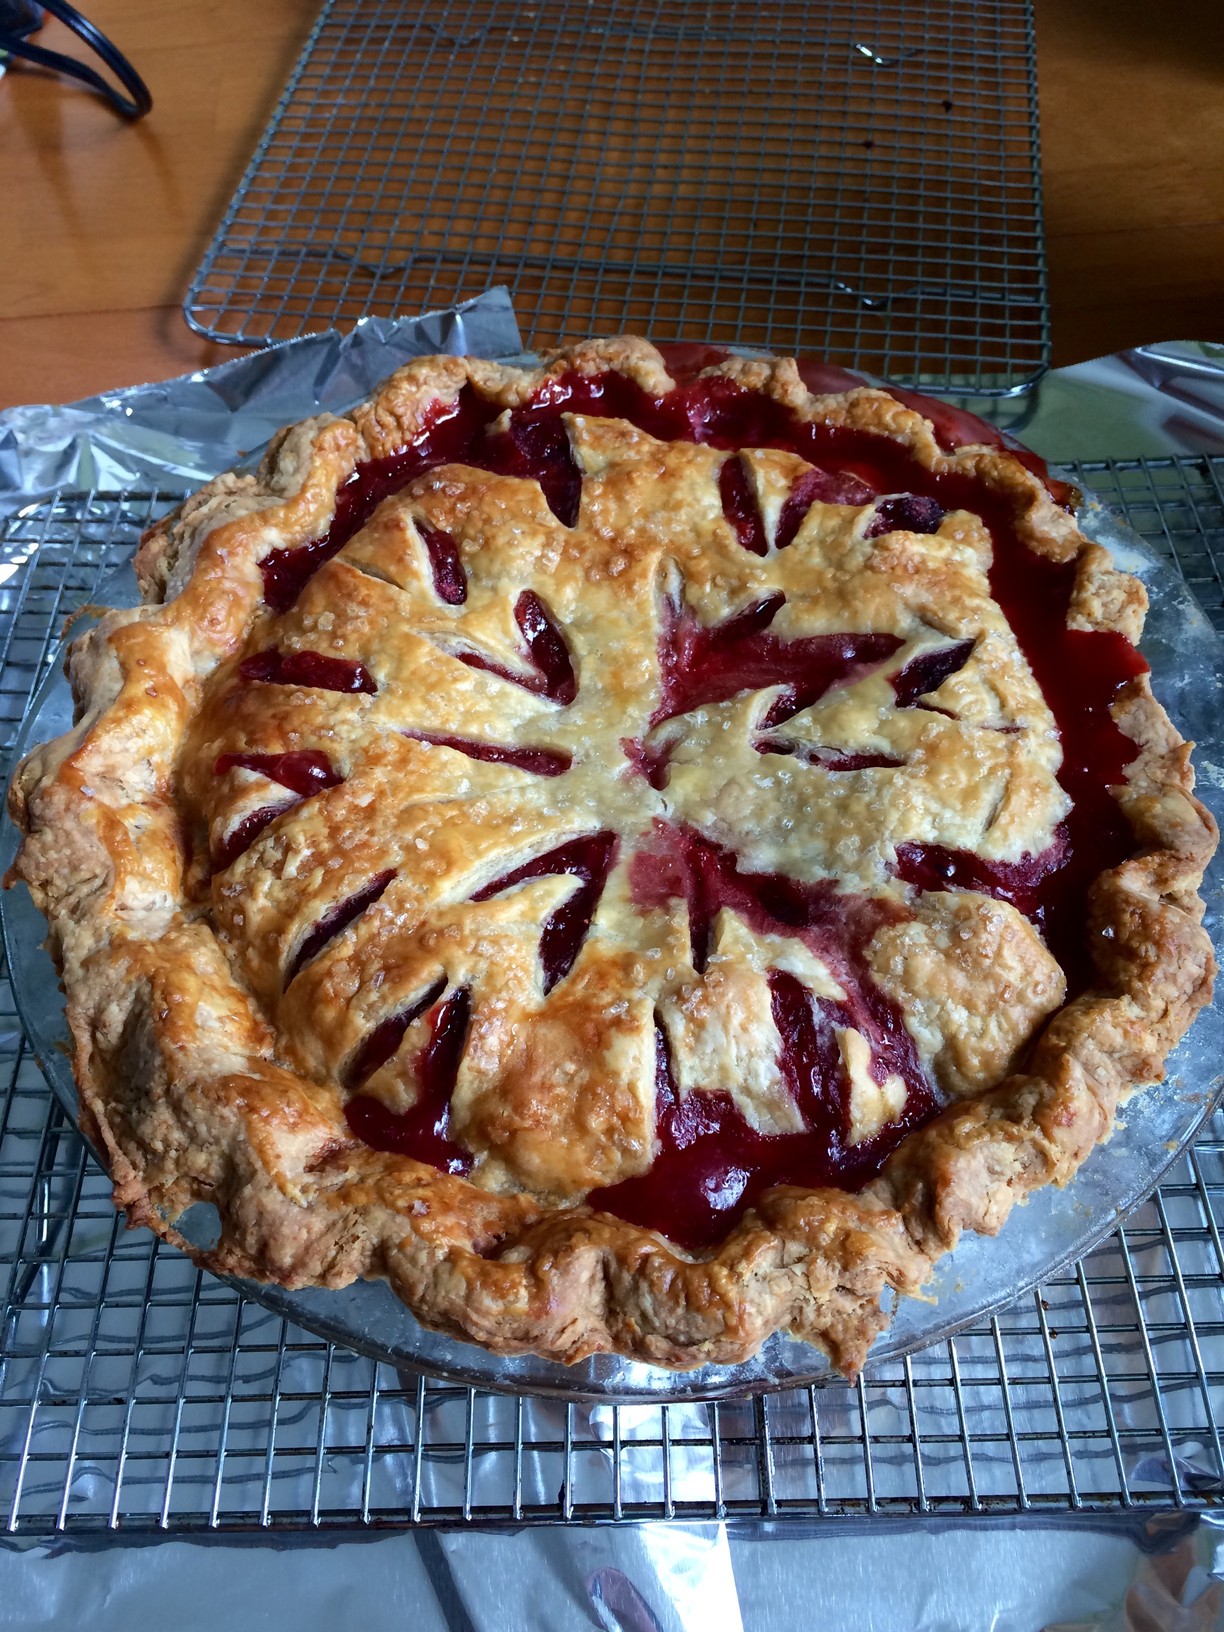
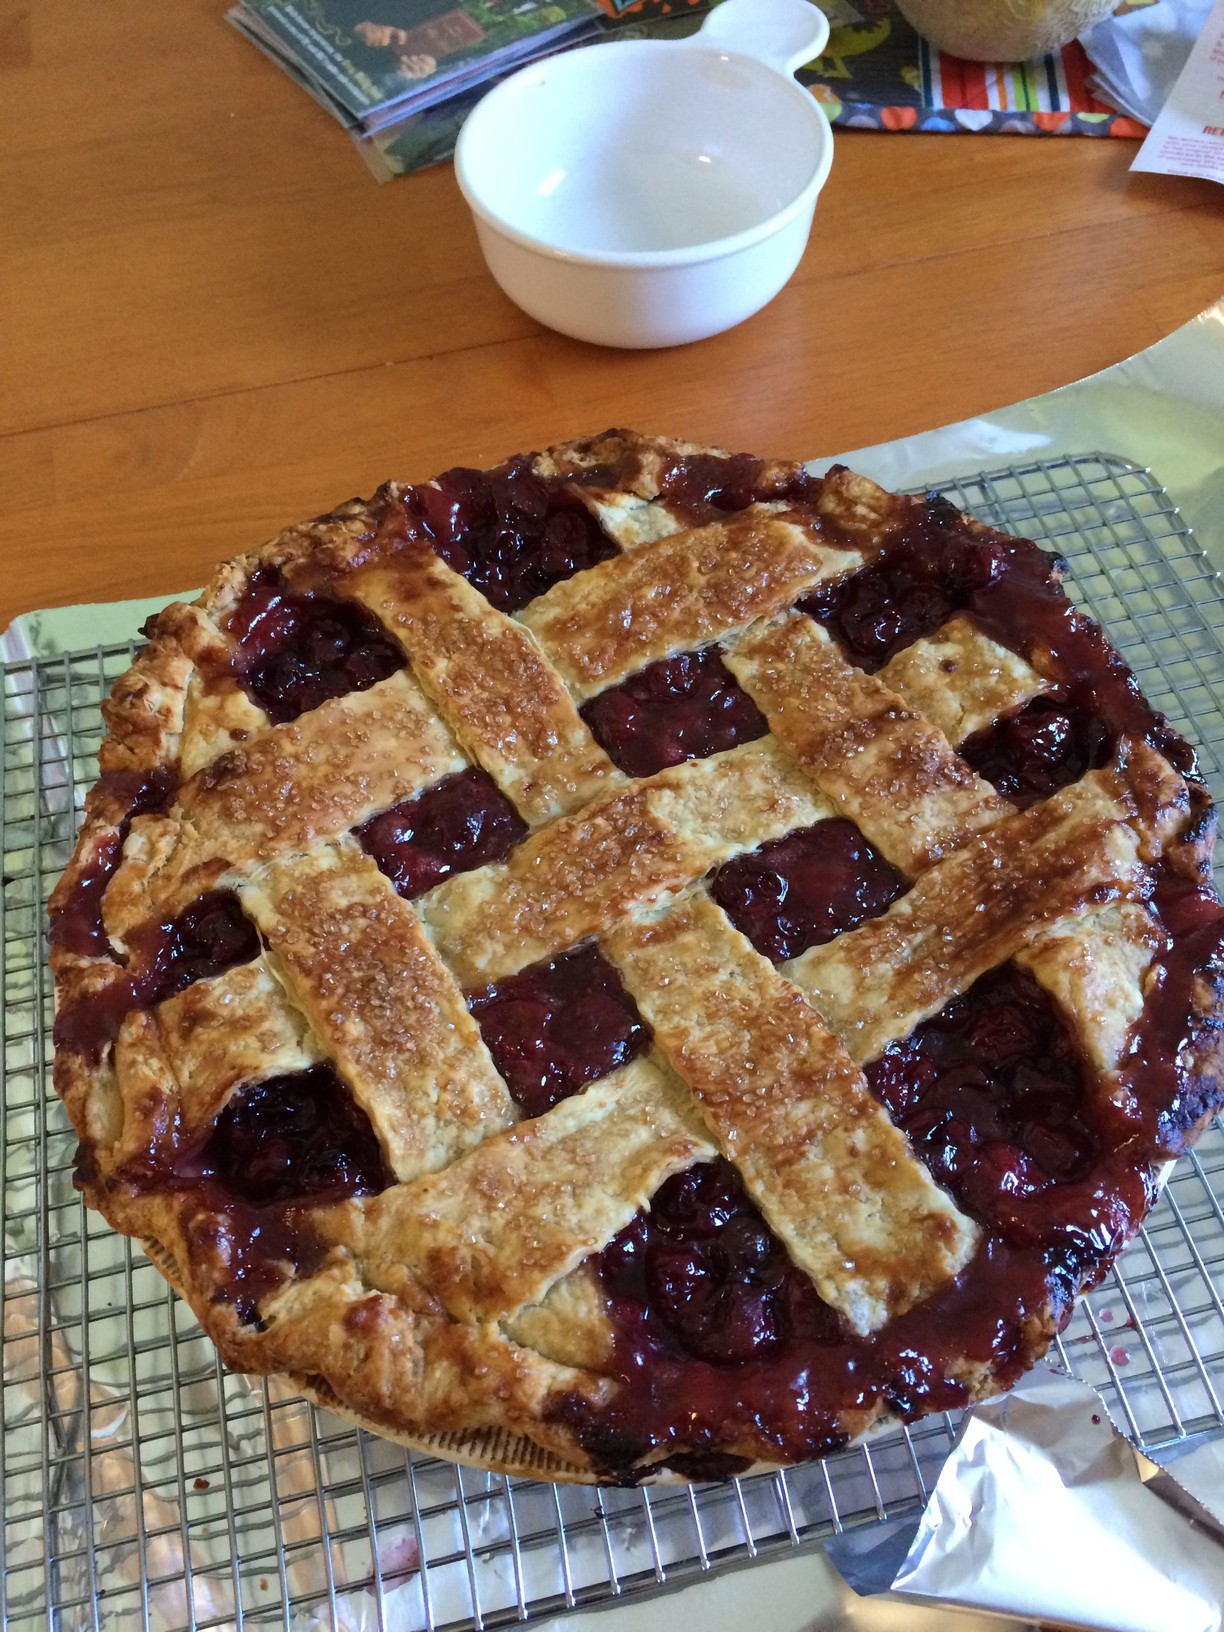
It’s my gateway pie, the harbinger of summer pies, and is the triumphant conqueror of the last of my seasonal blues. I know that after strawberry-rhubarb comes the flood—blueberry, sour cherry, sweet cherry, peach, peach-blueberry, mixed berry, and—damn the high cost—huckleberry.
So now you’re stomach’s grumbling, you’ve drooled onto your keyboard, and you’re getting ready to type “Makee mee a piee!” (that’s what you get for drooling on your ‘e’ key), to which I must respond, “give them a pie, and they’ll only ask you for more pie. Teach them how to make a pie, and they’ll still ask you to make them a pie but they might end up trying it for themselves, getting way too frustrated, and then blaming you for it.”
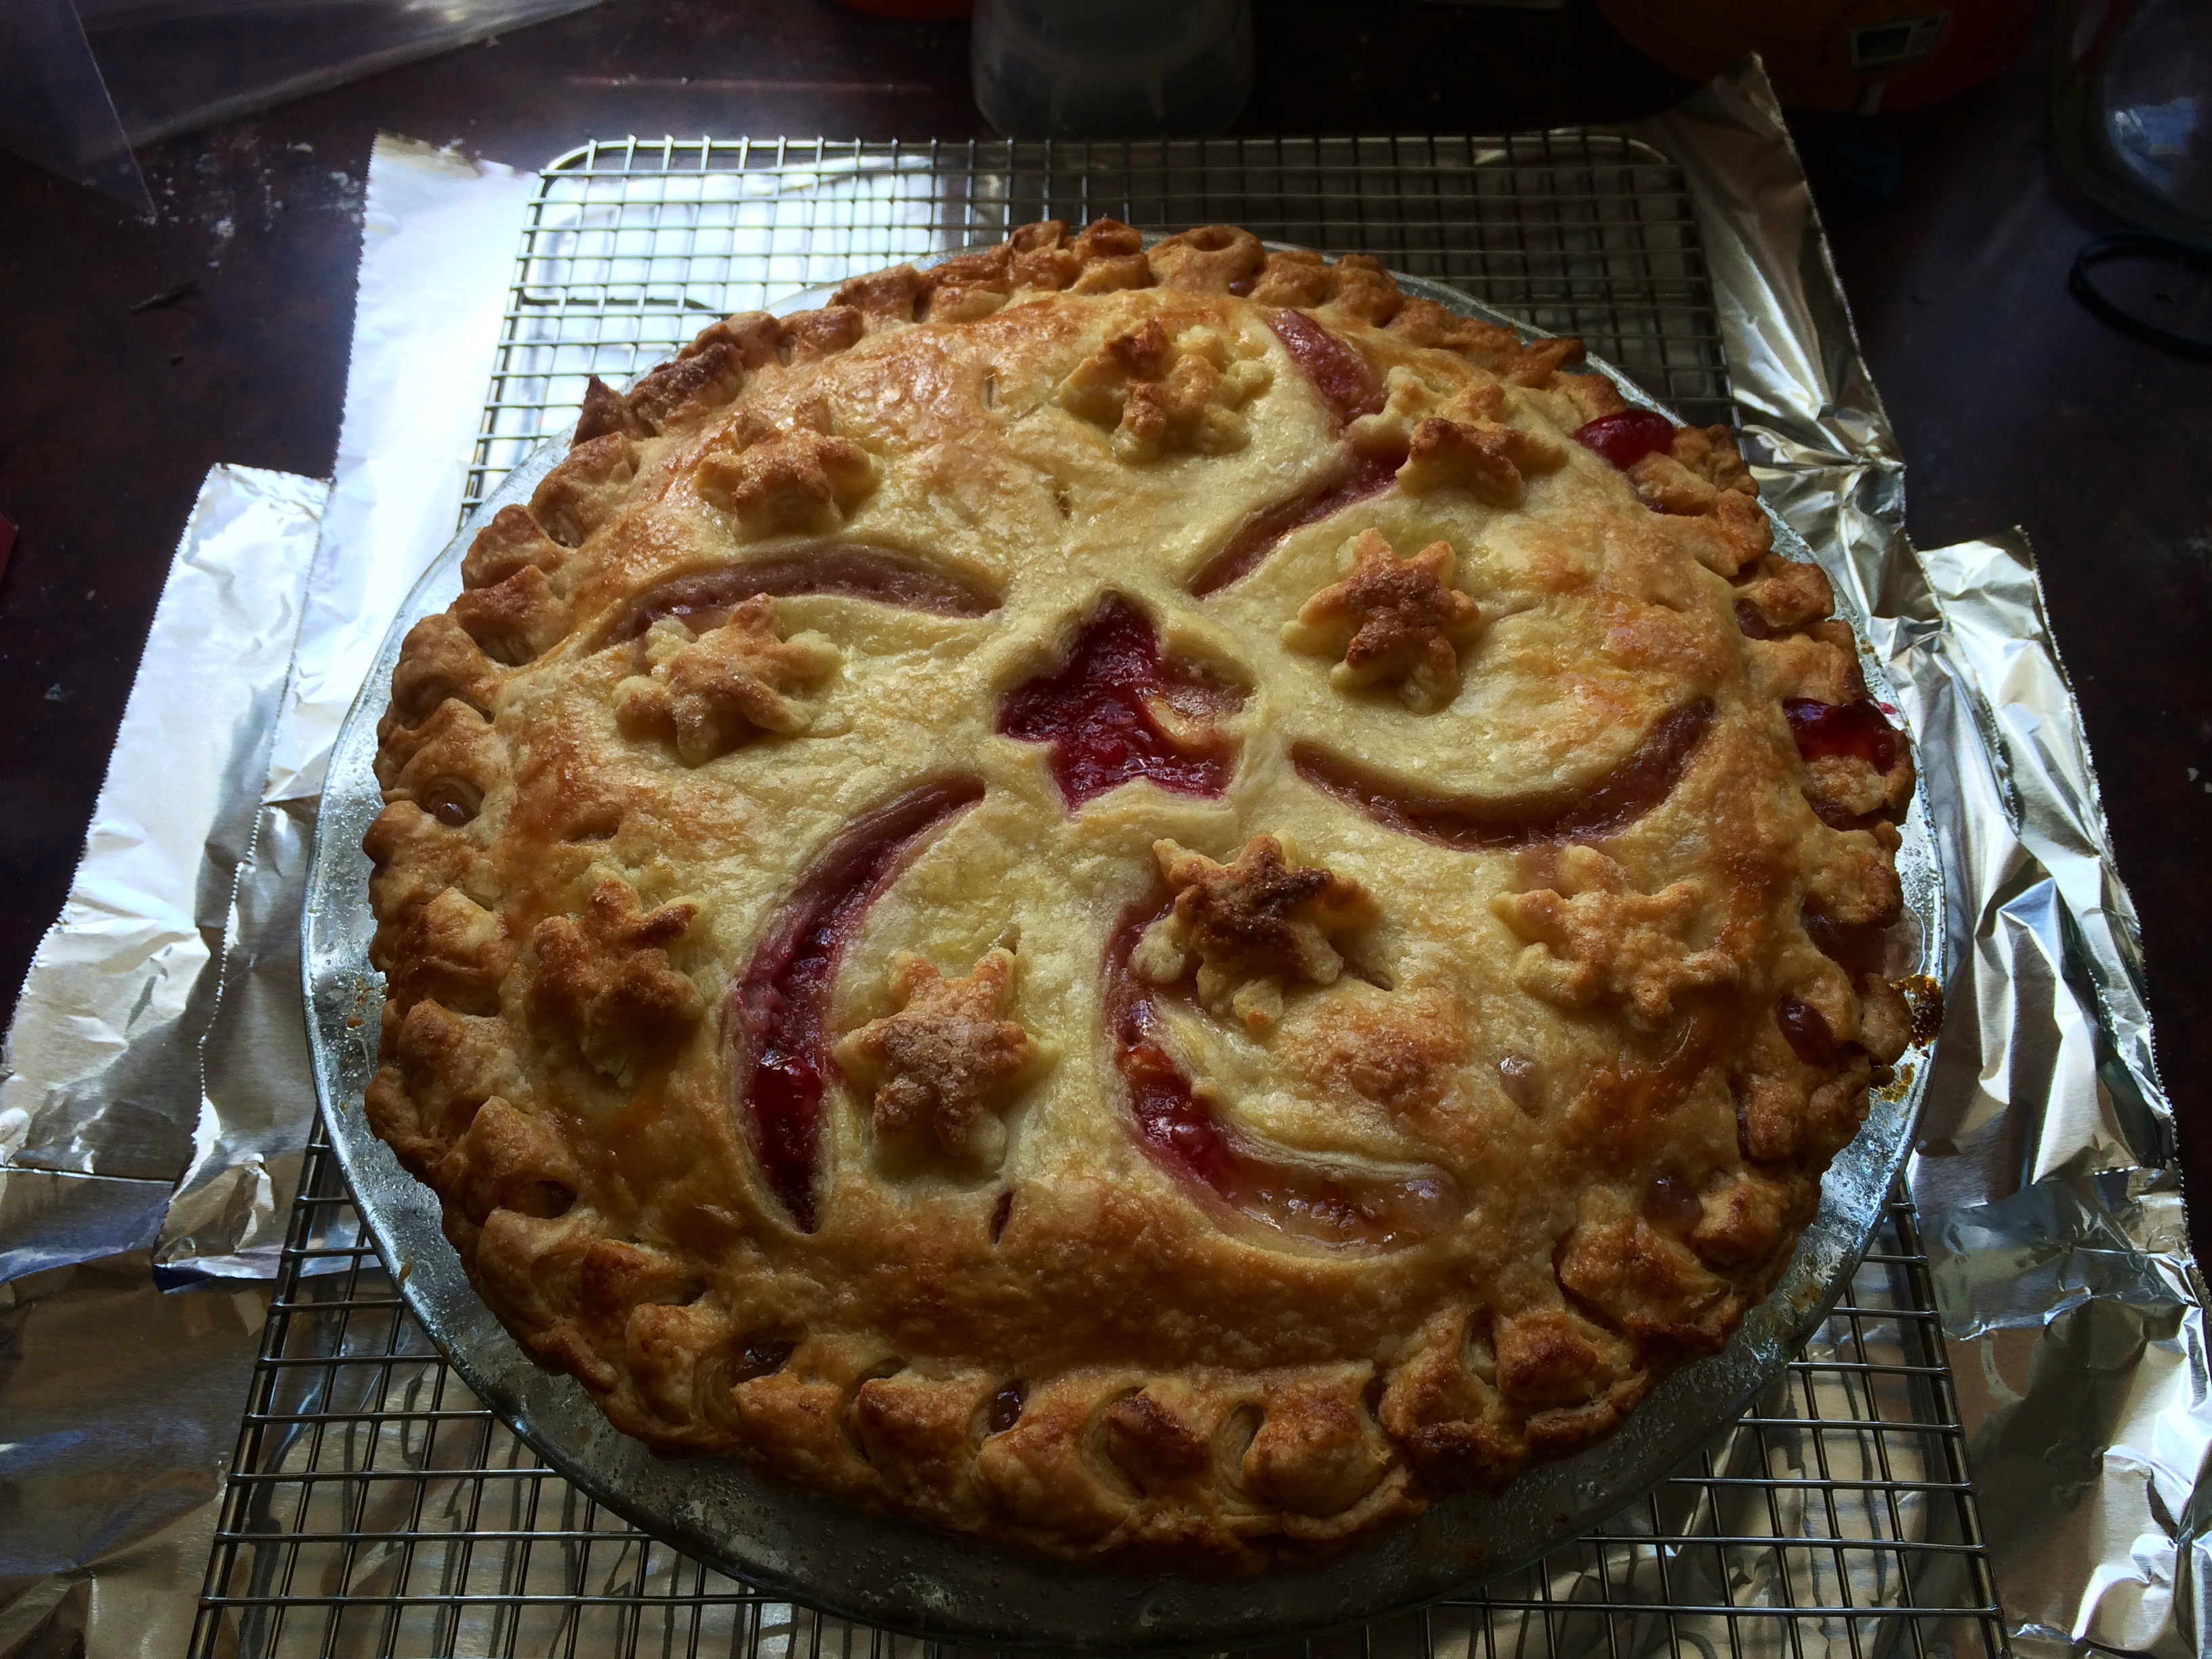
Here, then are my instructions and SECRET TIPS (please don’t tell anyone else, it’s just between you and me) on making a summer berry pie.
Fillings are easy. Berries, sugar, thickening, maybe some citrus zest or vanilla. For thickeners, I tend to prefer ground tapioca pearls over flour or corn starch. It can get a little jelly-ish if there’s too much, but you don’t get any weird flavors or textures other than that, and it tends to work really well with juicy items.
This leaves the crust, which separates a good pie from a great pie, and, damnit, I want you to be able to make a great pie. There are really two things you need to do to make a great pie crust, and one thing you must not do:
- Keep things cold
- Let things rest
- Don’t over mix
I’ll get to all those in turn, but let’s start with mathematics–specifically, ratios. A great pie crust is as easy as 1-2-3: one part liquid, two parts fat, three parts dry mix. For a two crust pie, that means, by weight, four ounces liquid (1/2 cup), eight ounces fat (two sticks butter), and twelve ounces dry (approximately 2.5 cups).
For liquid, anymore, I only use water. You can doctor that up any number of ways—use half vodka, add in an egg or some vinegar, add in flavors, whatever—but just water gives me both the structure and flaky layers I like without getting in the way of the butter flavor.
For fat, I use all butter. I tend to use a high butterfat (European style) butter because that’s what I have around, but that’s actually not the best for it since the water in the butter helps create steam which helps create layers, so your usual supermarket butter will work just great. Ideally, I’ll do half European and half conventional. Unsalted or salted, it doesn’t really matter, just decrease the salt by a little in the dry mix if you’re using salted.
Now, all butter can be a little tricky at first, so you can do up to half butter and half shortening or lard if you want to keep the butter in there. You can also totally go all lard or shortening if you want, but I love butter, so I don’t.
For the dry mix, for a two-crust pie, it’s mostly all-purpose flour. If you haven’t seen Alton Brown’s show and his explanation as to why you should weigh your flour, it’s because different flour brands have different protein amounts, and depending on how tightly the flour is packed, a cup of flour can vary wildly in its weight. I’ll shill for a moment and say that, especially when it comes to baking, owning a kitchen scale is a must-have. If you don’t want to deal with that, about 2.5 scoop-and-sweep cups will work. I prefer King Arthur, but any all-purpose will work.
For the final dry mix, throw in one tablespoon sugar, one teaspoon salt, and, if you want to be fancy, one tablespoon buttermilk powder, and then add flour to make 12 ounces. Mix that up in a bowl and throw it in a fridge.
Cut your butter into pieces, throw that in the fridge. Measure out your water, throw that in the fridge. Have a beer, tend to your berries, go level up your JRPG characters or play a half of Madden (whichever you prefer). This is the first part of keeping things cold.
Once things are cold, you’re going to want to mix the butter into the flour. You can do this any number of ways—by hand, with hand tools, or in a food processor. I prefer a dough blender (the OXO version is excellent) only because I don’t feel like I can be precise with the food processor, but if you’re skilled in it, that’s going to work fast.
This is the part about over mixing: you want to cut the butter into the flour just until the butter pieces are mostly the size of peas. Not pebbles, but peas, and not shriveled frozen peas, but plump, fresh spring peas. It’s going to look unmixed, with what seems like a lot of loose flour, but don’t mix it past this point. You want butter chunks in your final dough. If, at this point, the butter seems warm or melty at all, stick it back in the fridge. If it still seems somewhat solid, proceed.
Sprinkle the water over it, all except for one or two tablespoons. Mix quickly with your hands until it starts to come together, adding the rest of the water if it’s not really sticking. Get it into a rough ball—it’s going to be a little crumbly, maybe seem just a little dry, but it should all come together. Separate it into two halves, wrap in plastic like Laura Palmer, and shape them into discs. Stick them in the fridge for at least a half an hour.
In the meantime, get your filling ready, butter the inside of your pie pan using one of the butter wrappers, and pre-heat your oven (and stick some foil in a baking sheet and stick that on the lowest rack).
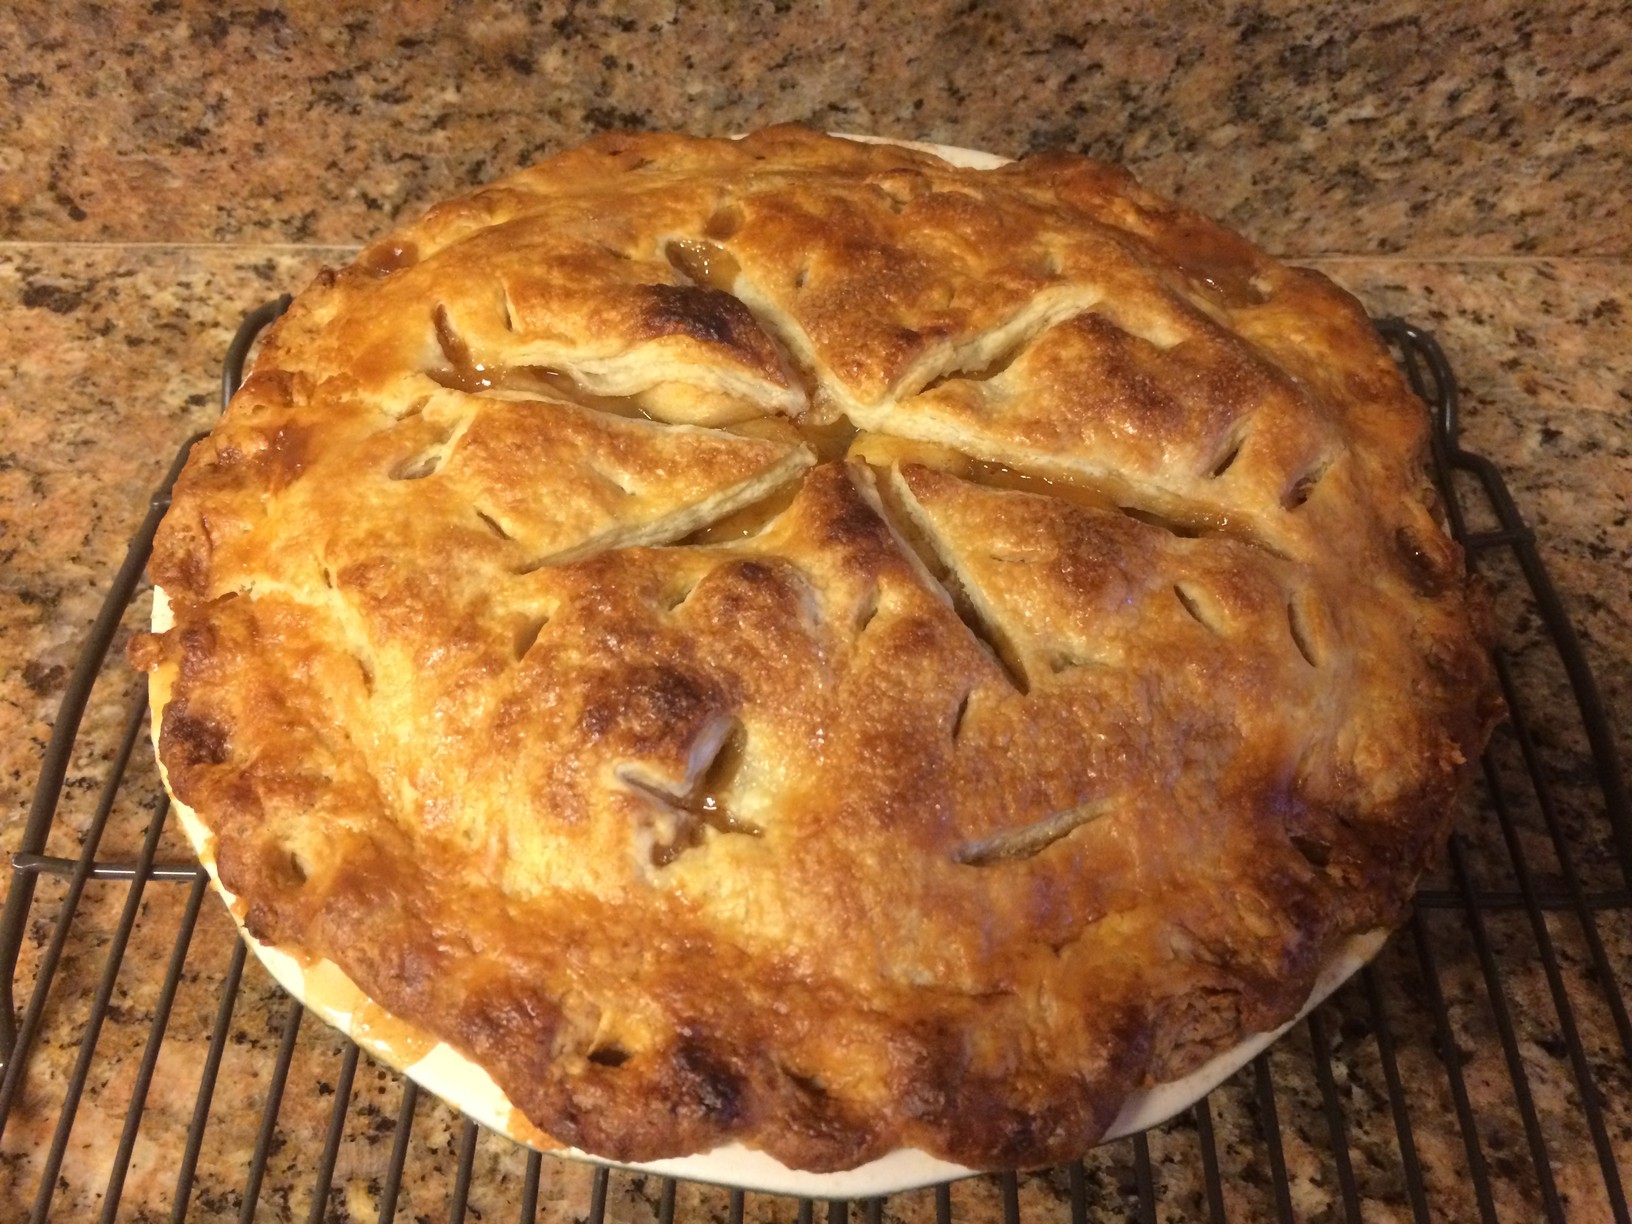
Clear some clean counter space (or get a nonstick baking mat), and flour it liberally, and grab your first disc (the larger of the two, if you’re like me and lopsided), give both sides of it a dusting of flour and flour your rolling pin. Roll it out to a 12-inch circle or so, and then fold it into quarters, lift, and then unfold it into your pie pan (google this if you’re not sure what I’m saying here). Gently pat it into shape in the pan, and stick it in the fridge. Repeat to roll out your top crust. Take the pan out, fill it with delicious berry filling, put on your top crust, shape your edge (google that, too), and then, again, stick it in the fridge. Right before you put it in to bake it, brush the top with egg wash or cream or whole milk and then sprinkle sugar on top. Slice a bunch of vents into the top with a sharp knife.
Then bake that thing and try to control your saliva as that delicious smell of pie permeates every inch of the air around you. Stick a crust shield or some foil on the crust halfway through (when you turn it, naturally), and then cool it on a rack for a few hours afterwards.
Then eat it. All of it. Or, if you’re a good person—or a good person looking to make more friends—share it. A little ice cream or whipped cream never hurt, either.
Here’s to a happier off season.

Leave a Reply
You must be logged in to post a comment.